
Mother’s Day Door Decor
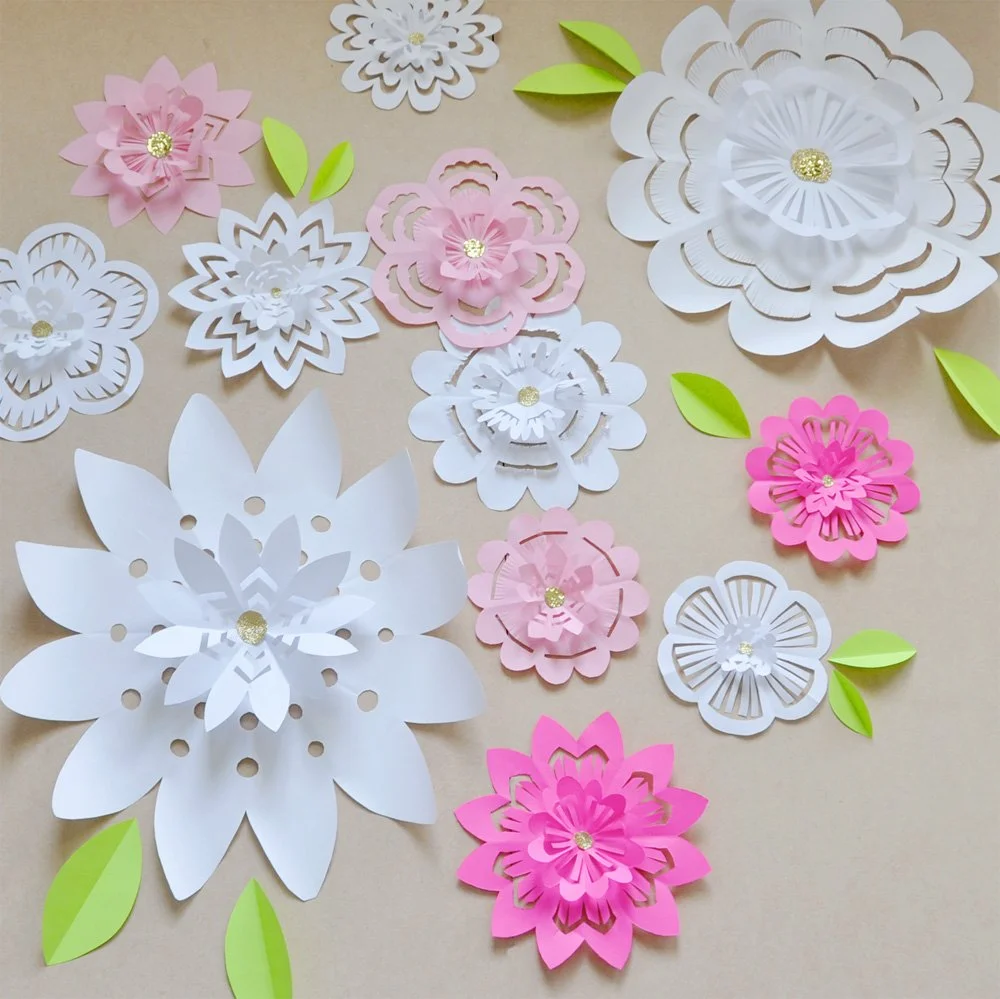
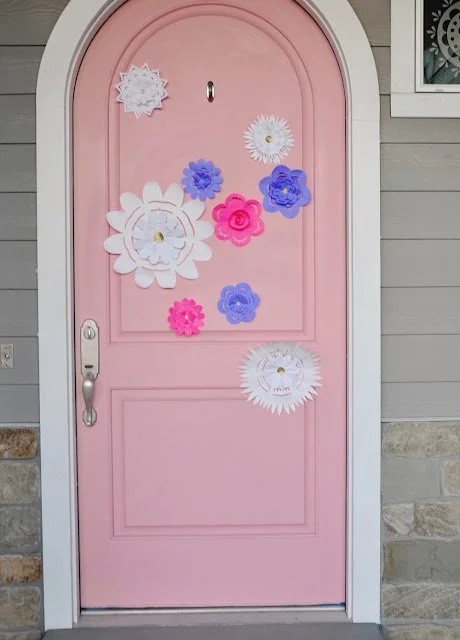
Mother’s Day is just around the corner, and if you’re looking for a creative way to celebrate a mom in your life, here’s a simple idea:
Try making easy DIY paper flowers for her front door. They also double as a cheerful decoration for a brunch or Mother’s Day gathering.
They are made similar to a paper snowflake. Here are the instructions:
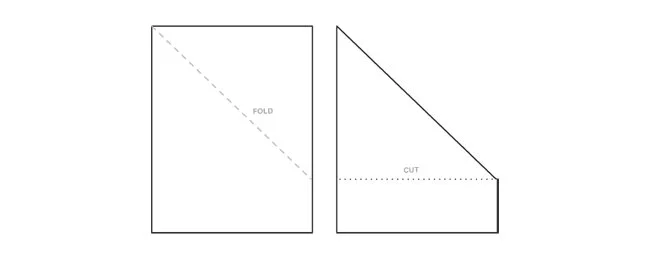
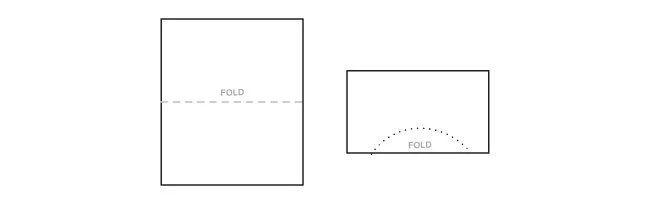
Step 1- Start with an 8.5" x 11" sheet of paper (non-card-stock). Fold one corner of the piece of paper down. Cut off the bottom portion to make a triangle. When using larger butcher paper, start by cutting it into a square, then fold it in half

Step 2- Temporarily bring the two corners of the base of the triangle together to find the center point of the longest side. Make a small crease at the center point.
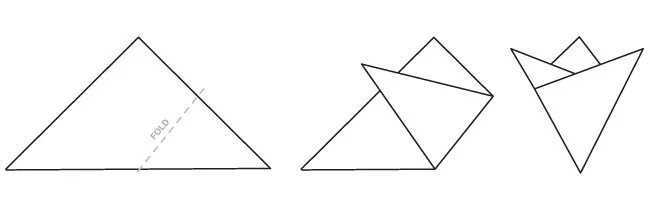
Step 3- Use the center point to divide the triangle into three equal parts. Fold the right corner in at a 60° angle. Then fold the left corner in back at a 60° angle.
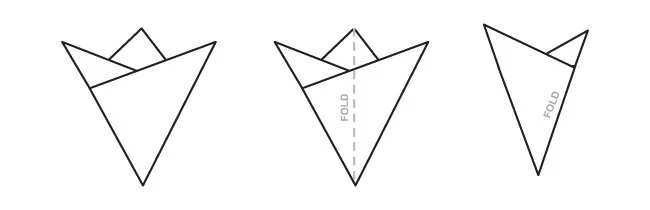
Step 4- Fold the paper in half.
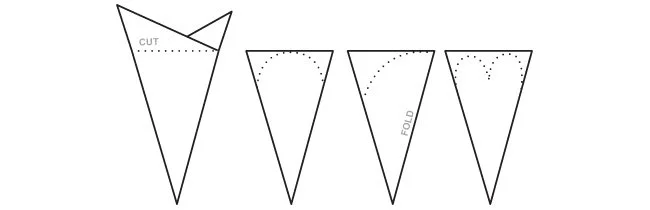
Step 5- Cut the upper portion along the horizontal line. Round the edges as shown above for a floral look.
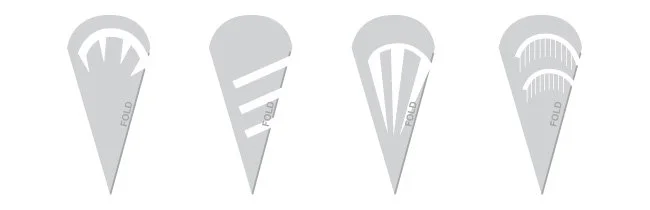
Step 6- Use scissors to cut some designs into your flower. See image for some cut ideas.
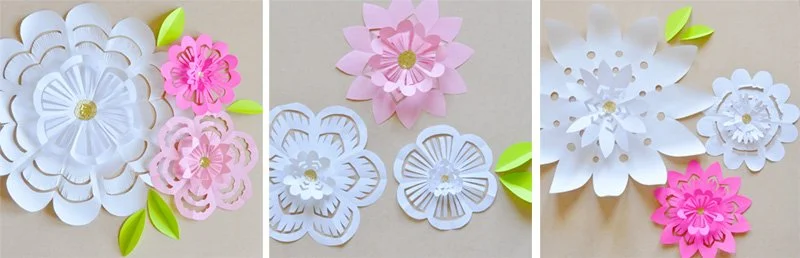
Step 7- Carefully unfold your flower and flatten it out with your fingers. Use an iron for base flowers. Leave the smaller flowers for layering with folds in it for more dimension.
Step 8- Use a glue gun to adhere the smaller flower to the larger base flower.
Step 9- With a round circle punch, punch some centers for the flowers. You can cut circles if you don’t have a circle punch. Adhere them to the center of the flower using a hot glue gun.
Step 10- Make leaves by folding a piece of paper in half, and cutting out a half leaf.
DIY Elegant Snowflake Banner
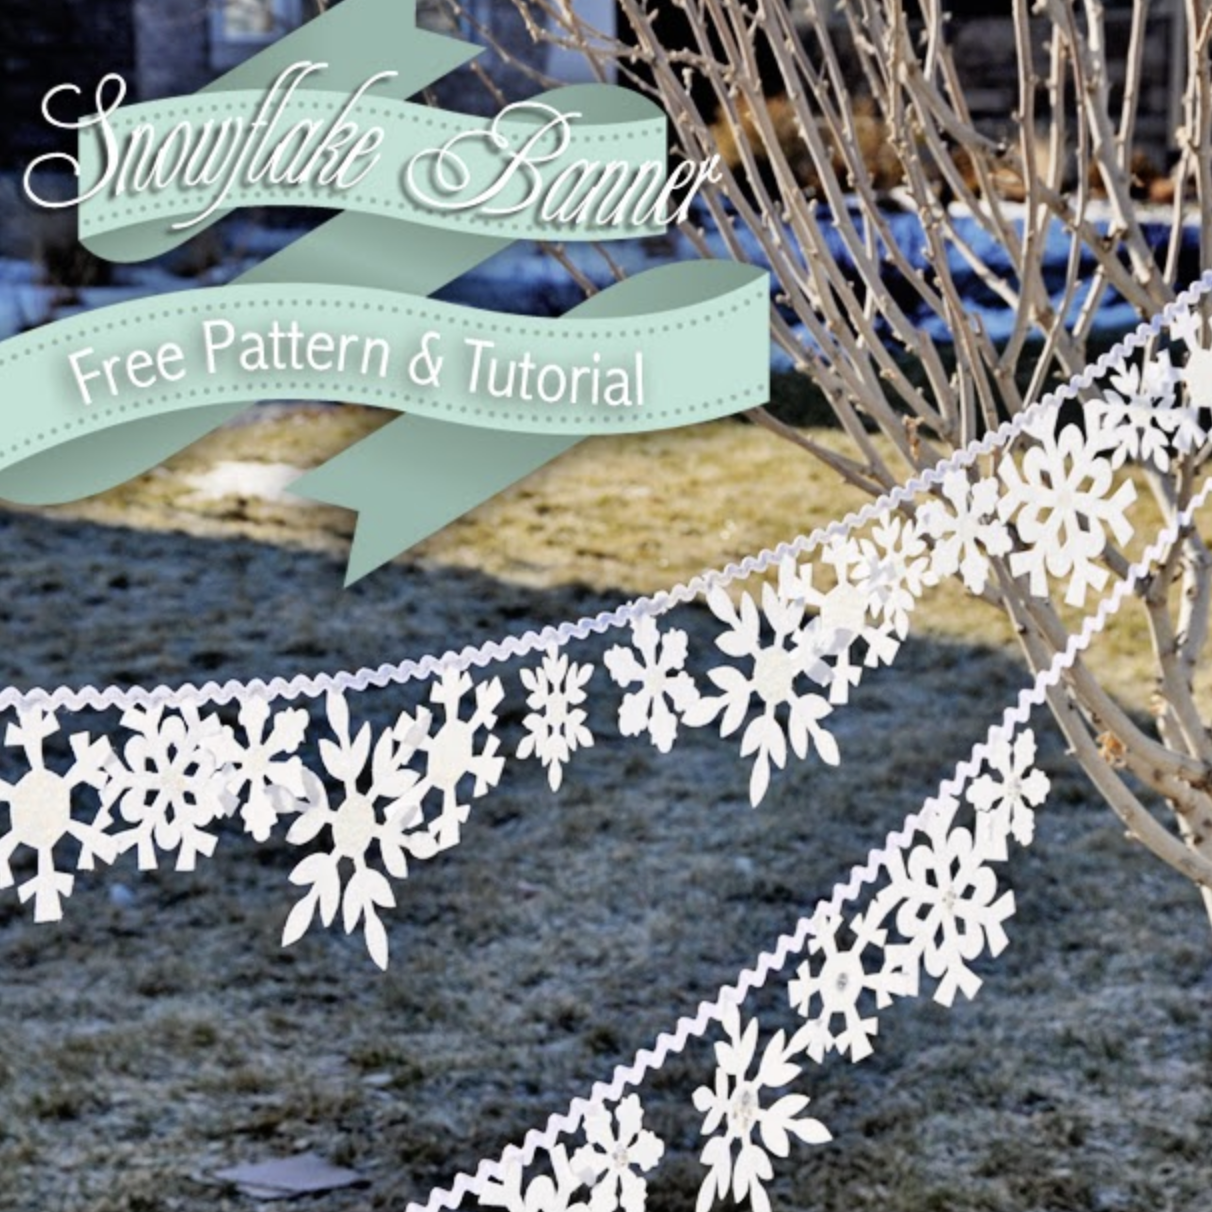
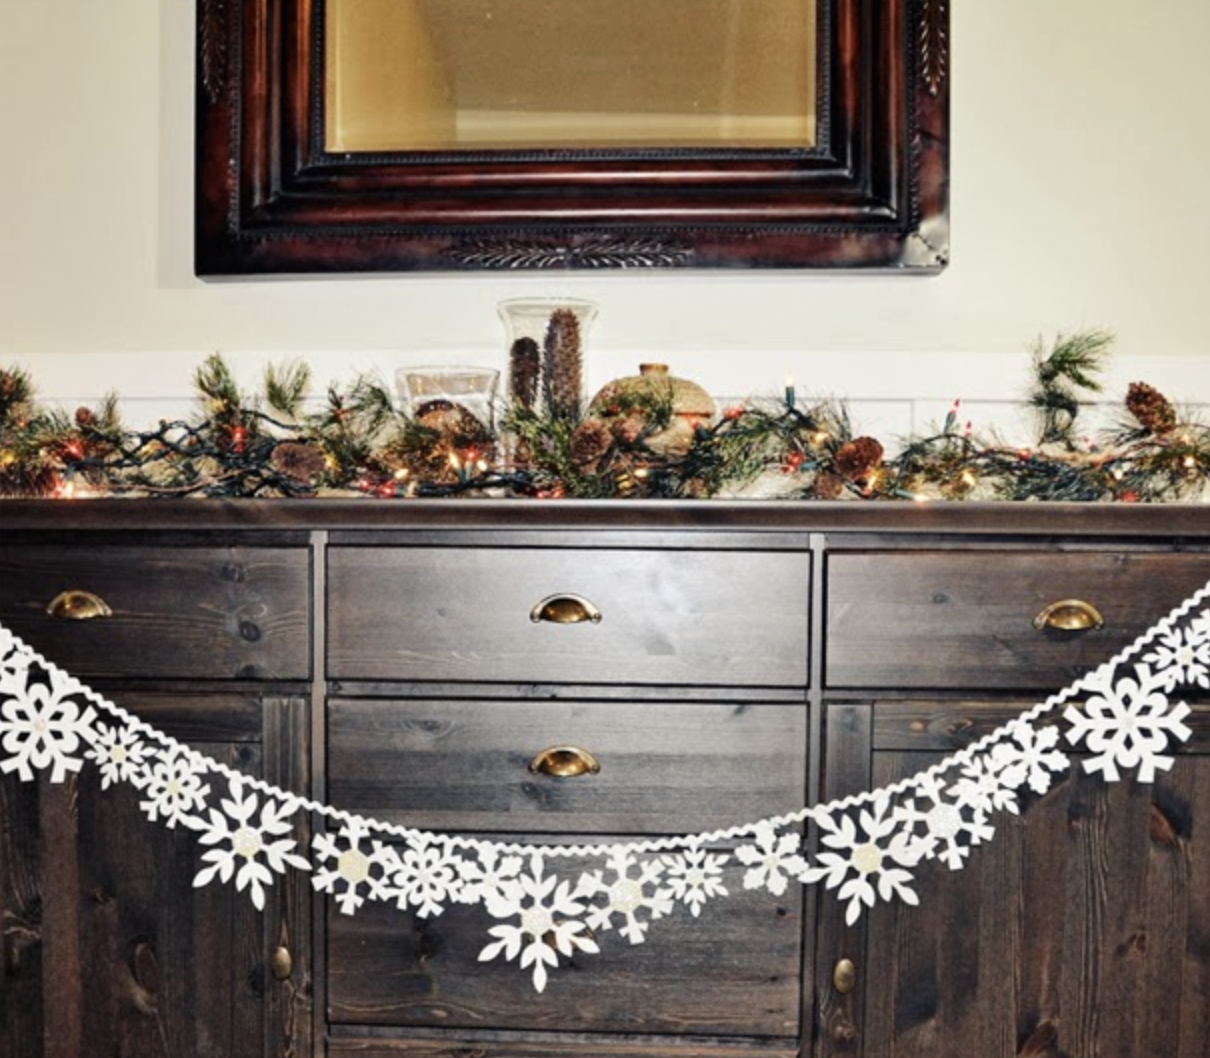
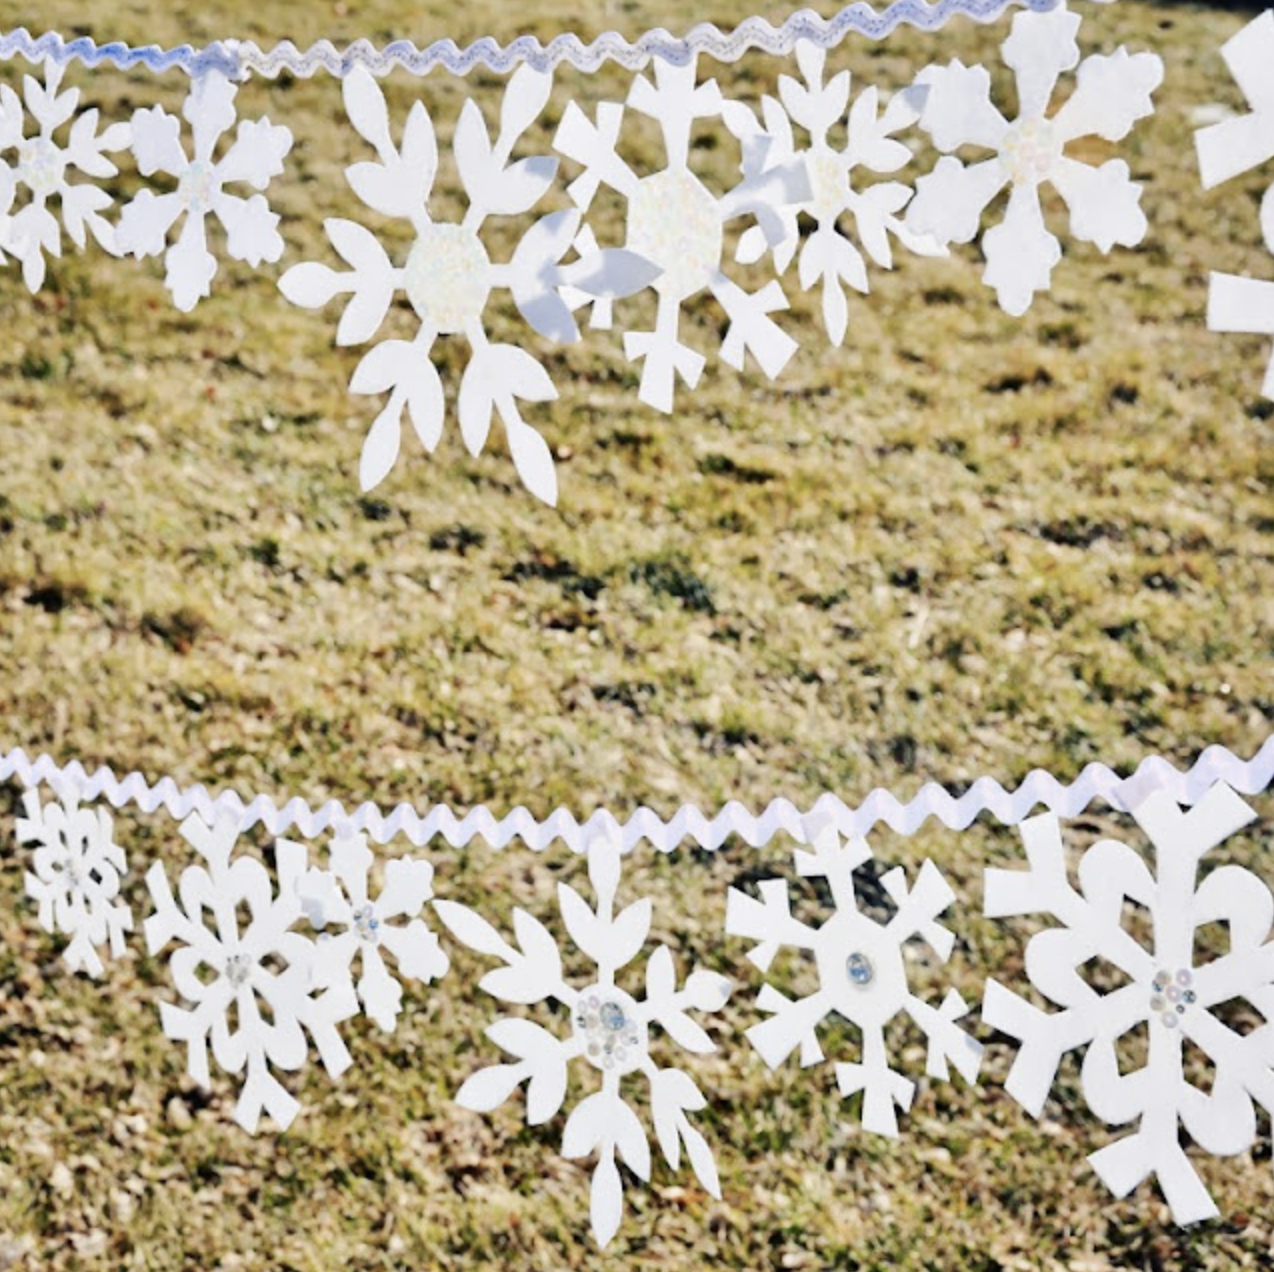
Looking for a fun and festive winter craft? This Snowflake Banner is the perfect cozy project! I’ll be honest, cutting out all those snowflakes takes a little time, but the end result is totally worth it. Plus, it’s super budget-friendly!
What You’ll Need:
Stiff felt in white or any color you love
Ric-rac or ribbon for hanging
Sharp scissors
Hot glue gun
Sequins or other embellishments for sparkle
Instructions:
1. [Download and print this 2-page PDF pattern.]
This will be your snowflake template.
2. Cut out the paper snowflakes from the pattern.
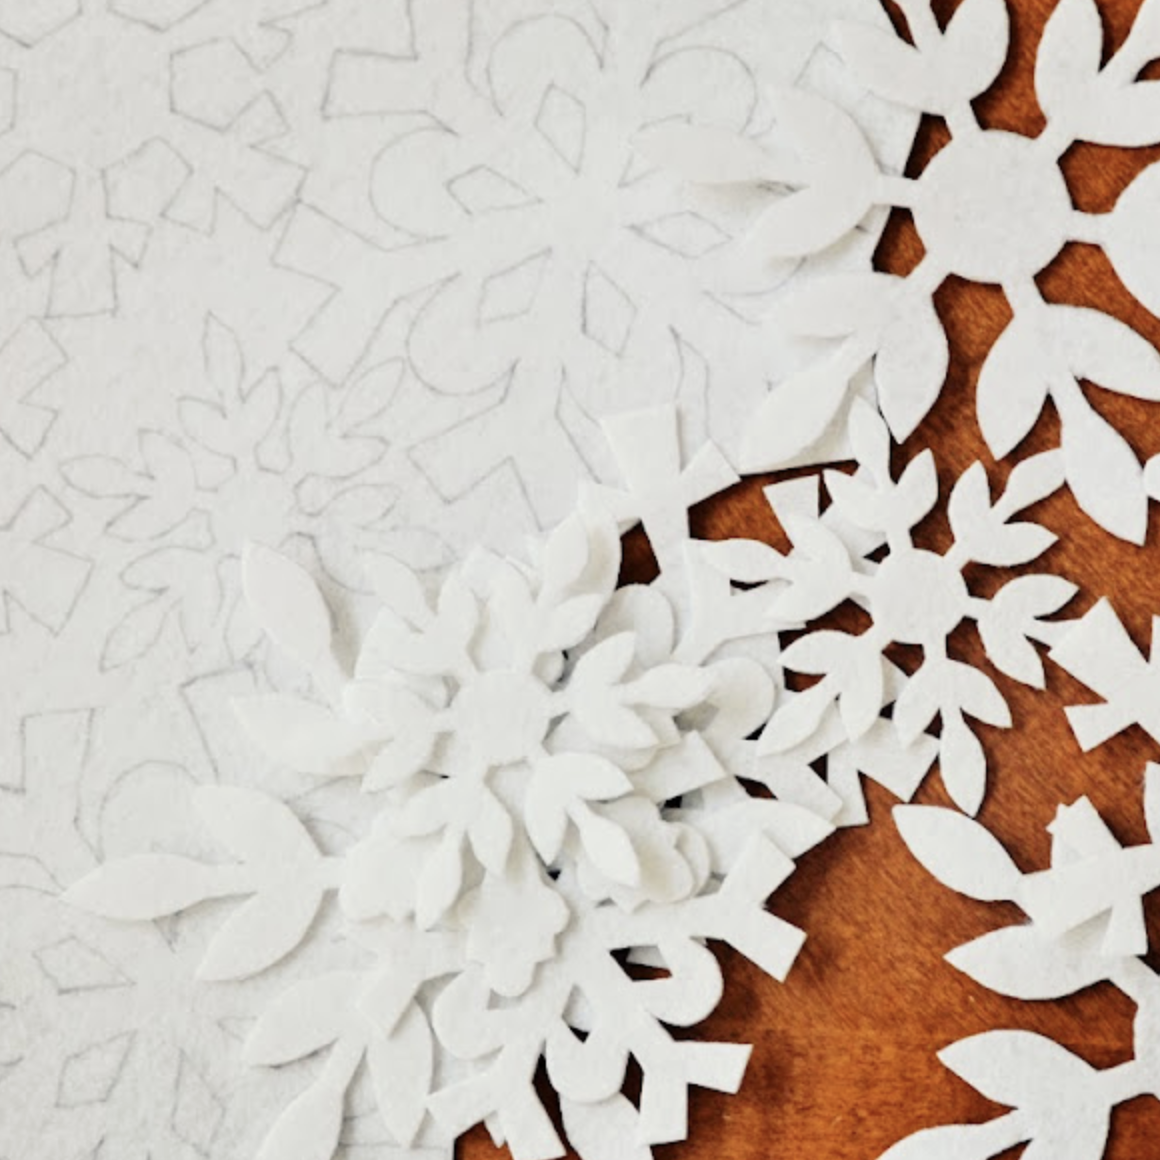
3. Trace each pattern onto your stiff felt. I used pencil to trace.
4. Carefully cut out the felt snowflakes.
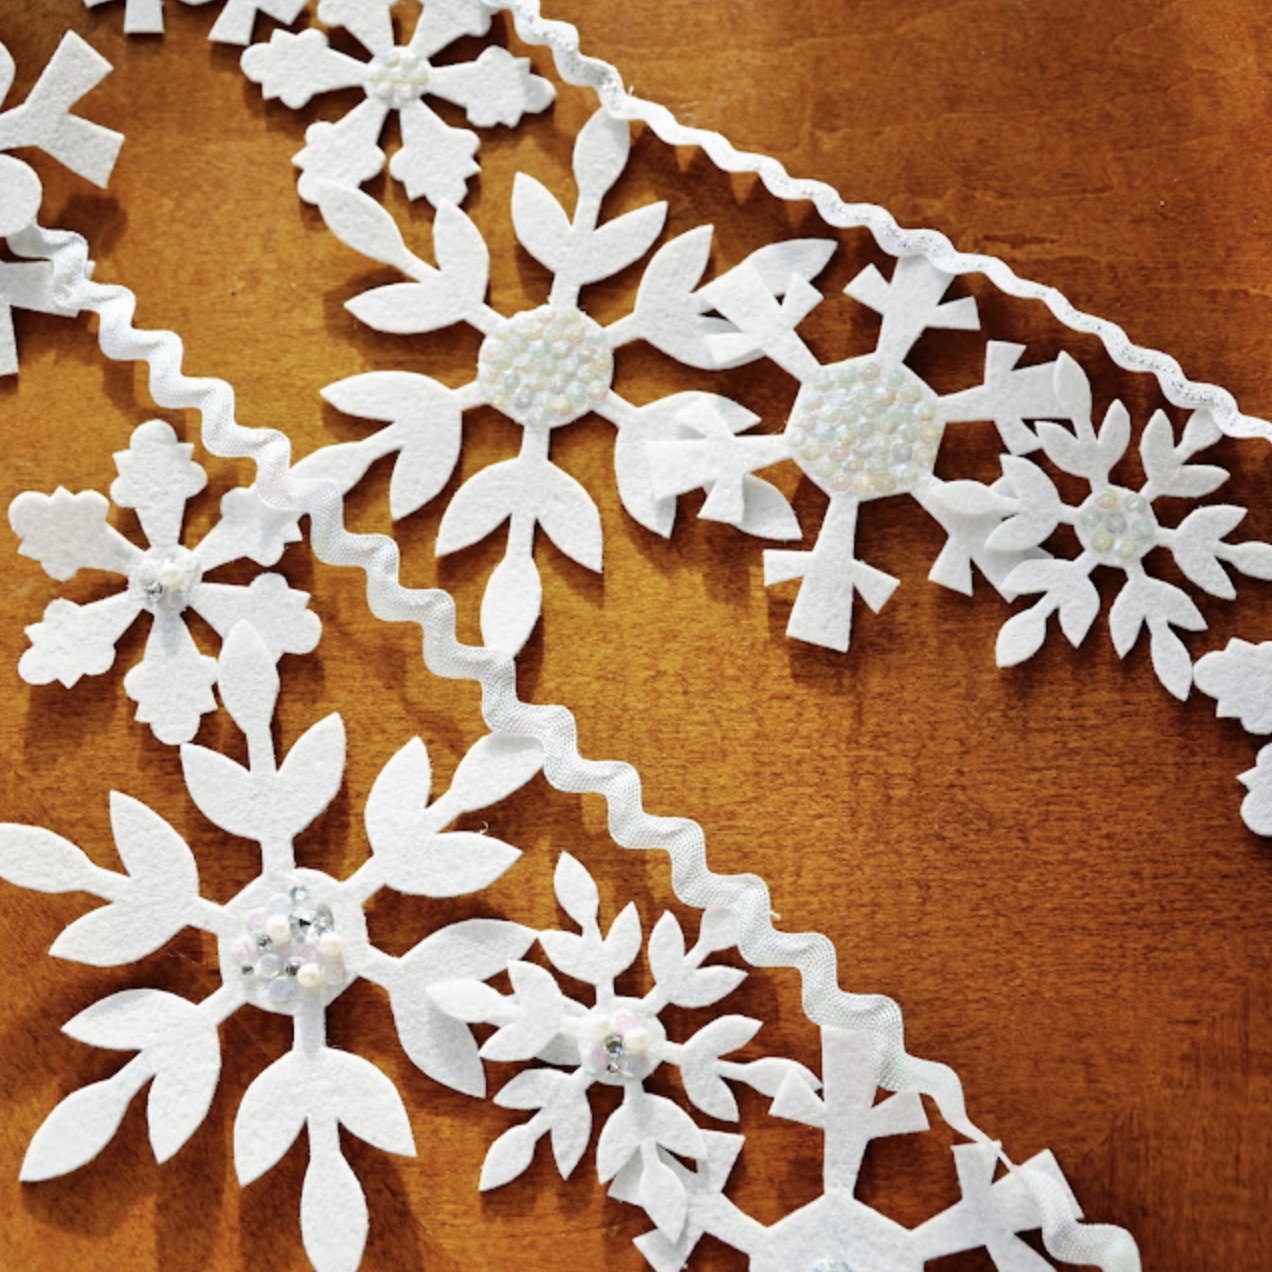
5. Use your hot glue gun to attach sequins or any fun embellishments to the center of each snowflake.
6. Glue each finished snowflake onto your ric-rac or ribbon to create your garland.
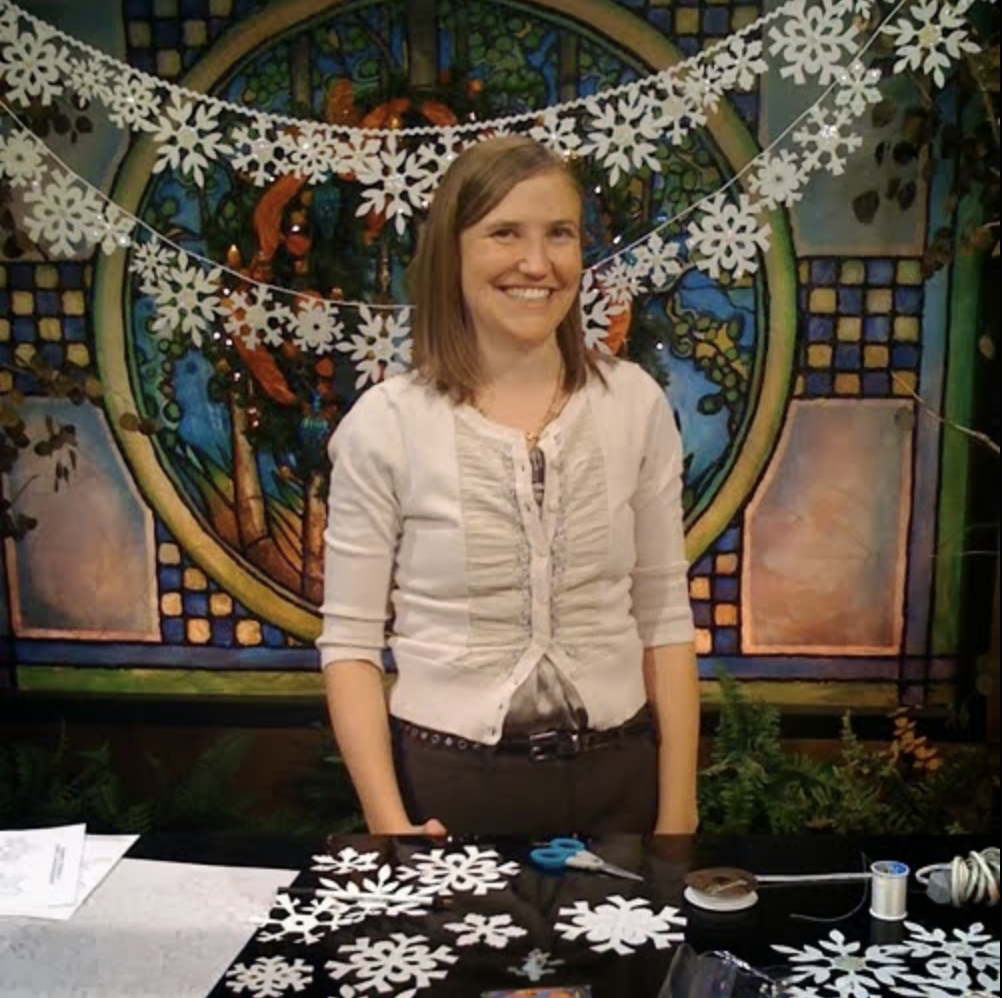
7. Hang your beautiful snowflake banner and enjoy your handmade winter décor!
Tip: Cutting the snowflakes can take a bit of time, so I like to do it while watching my favorite movie, it makes the process much more enjoyable.
Feel free to share this tutorial and your finished creations with your friends!
If you’d like to share the snowflake pattern, please link back to this post rather than redistributing the file directly. Thank you!